How to Use Gradients in SwiftUI - Linear Gradients

Apple defines general gradient as
A color gradient represented as an array of color stops, each having a parametric location value.
The color gradient is nothing but the collection of colors organized by a pre-defined rule. You can have a color gradient with as many colors as you want. Unless you specify stop points and locations, all colors will be equally distributed. However, the gradient range needs to be customizable and Apple gives a way to specify how far you want to distribute each color.
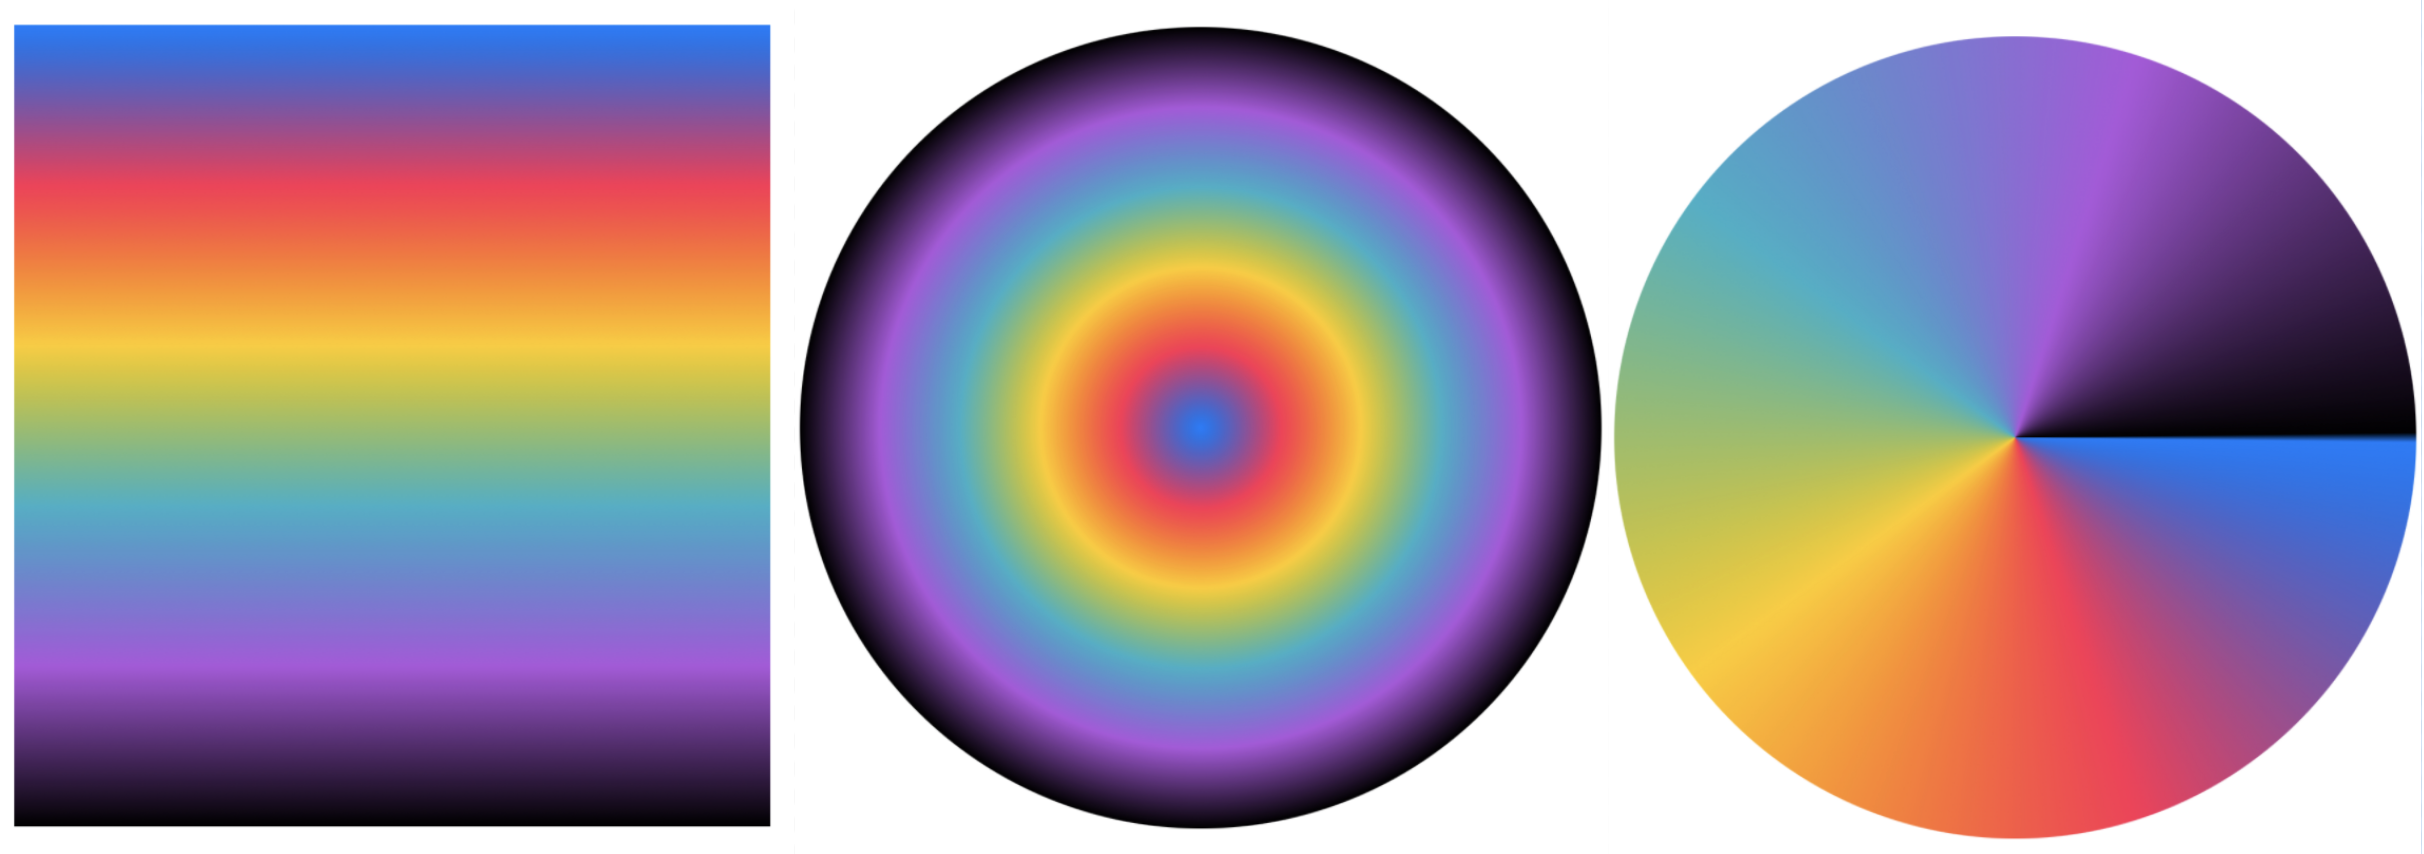
Technically, Gradient is a base structure and all other specialized structures are based on it. SwiftUI offers 3 types of built-in gradients as follows,
- LinearGradient
- RadialGradient
- AngularGradient
Let's take a look at the LinearGradient in today's blog post. I will cover the rest of the gradients in future blog posts.
LinearGradient
As noted from Apple's documentation,
The gradient applies the color function along an axis, as defined by its start and end points. The gradient maps the unit space points into the bounding rectangle of each shape filled with the gradient.
Linear gradient takes the list of colors as input and applies them in a linear fashion. There are 3 types of initialized LinearGradient offers as follows,
/// Creates a linear gradient from a base gradient.
public init(gradient: Gradient, startPoint: UnitPoint, endPoint: UnitPoint)

/// Creates a linear gradient from a collection of colors.
public init(colors: [Color], startPoint: UnitPoint, endPoint: UnitPoint)

/// Creates a linear gradient from a collection of color stops.
public init(stops: [Gradient.Stop], startPoint: UnitPoint, endPoint: UnitPoint)
Although each initializer has its own signature, the concept remains the same. With the first and third APIs, you get more flexibility for controlling how much space each color takes and its start and end position.
The second API takes the list of colors as input and distributes them equally. Unlike the other two APIs, this API does not provide flexibility in terms of how these colors are distributed in the given space.
Creating a Linear Gradient from a Base Gradient
In its simplest form, this gradient initializer allows us to first create an instance of Gradient and pass it to create a LinearGradient. An instance of Gradient can be created by passing an array of stops where each stop represents the color and the stop.
With this, we can create a gradient of any design by adding variation to colors and their respective stops.
Just like the LinearGradient, Gradient can also be created by passing the list of colors. Let's take a look at examples,
Creating a LinearGradient with Gradient instance where Gradient is created from the list of colors.
let gradient = Gradient(colors: [
    Color.blue,
    Color.pink,
    Color.yellow
])

Rectangle()
    .fill(LinearGradient(gradient: gradient, startPoint: .top, endPoint: .bottom))
    .frame(width: 200, height :100)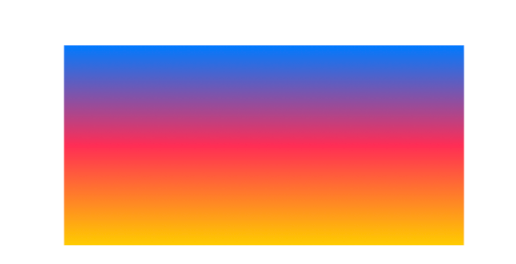
Creating a LinearGradient with Gradient instance where Gradient is created from the list of color stops.
let gradientThreeColors = Gradient(stops: [
    .init(color: Color.blue, location: 0.2),
    .init(color: Color.pink, location: 0.4),
    .init(color: Color.yellow, location: 0.8)
]
)

Rectangle()
    .fill(LinearGradient(gradient: gradientThreeColors, startPoint: .top, endPoint: .bottom))
    .frame(width: 200, height: 100)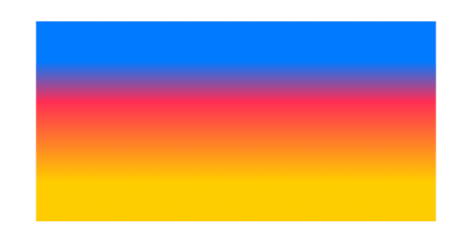
Creating a Linear Gradient from a Collection of Colors
The creation of LinearGradient is not limited to the creation of Gradient instance. LinearGradient can also be instantiated by simply passing the collection of colors. All the colors are equally distributed in the gradient so the downside is, that you don't get the flexibility to distribute them in an unequal manner.
let colors = [
    Color.blue,
    Color.pink,
    Color.yellow
]

Rectangle()
    .fill(LinearGradient(colors: colors, startPoint: .top, endPoint: .bottom))
    .frame(width: 200, height :100)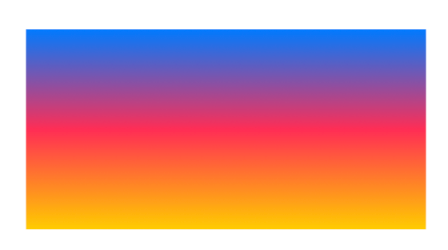
Creating a Linear Gradient from a Collection of Color Stops
The final way to create a LinearGradient is from the collection of color stops. You create an array of color stops where each stop represents the color and its location and pass that list to LinearGradient initializer to create a gradient as directed by color stops.
let colorStops: [Gradient.Stop] = [
    .init(color: Color.blue, location: 0.2),
    .init(color: Color.pink, location: 0.4),
    .init(color: Color.yellow, location: 0.8)
]

Rectangle()
    .fill(LinearGradient(stops: colorStops, startPoint: .top, endPoint: .bottom))
    .frame(width: 200, height :100)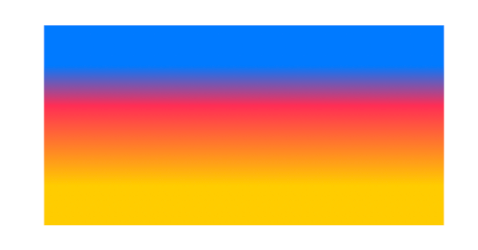
Understanding Gradient Directions
Now that we learned different ways to create a linear gradient, let's see how to control gradient directions using startPoint and endPoint. If we consider all the initializers of LinearGradient, all of them take two other input parameters startPoint and endPoint. These points specify where the gradient is going to start and end.
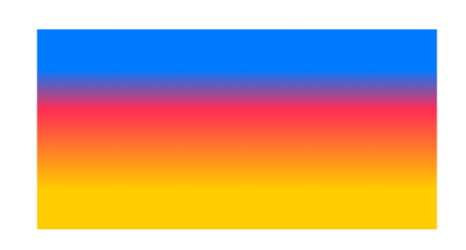
Let's demonstrate it by using a simple example of creating a linear gradient containing three colors with top as a startPoint and bottom as an endPoint.
let colors = Gradient(colors: [
    Color.blue,
    Color.pink,
    Color.yellow
])

Rectangle()
    .fill(LinearGradient(stops: colors, startPoint: .top, endPoint: .bottom))
    .frame(width: 200, height :100)
Because it was going from top to bottom, the first color blue starts at the top and the gradient ends with the last color yellow.
We can easily toggle it to go from leading to trailing or even diagonally from topLeading edge to bottomTrailing and the other way around.
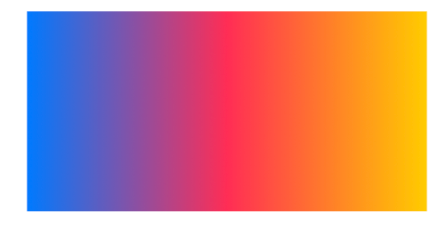

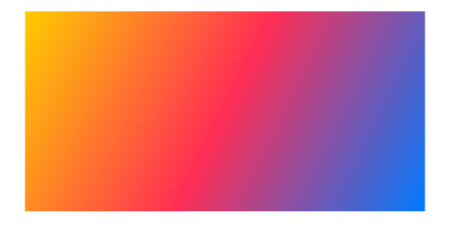
startPoint and endPoint values we pass above are of type UnitPoint. UnitPoint is represented by x and y coordinates. For example, the top leading point in a given space is defined by UnitPoint backed by (x: 0, y: 0) coordinates, and the bottom trailing point is represented by UnitPoint back by (x: 1, y: 1). iOS has added convenient static variables to this enum which lets developers specify the point directions without having to initialize them with (x, y) coordinates. For example, we can use UnitPoint.topLeading to represent the top leading direction without having to pass UnitPoint instance explicitly like UnitPoint(x: 0, y: 0).In all, UnitPoint provides the following 10 built-in direction points that developers can use without worrying about UnitPoint's x and y values.
topbottomleadingtrailingtopLeading(Same aszero)topTrailingbottomLeadingbottomTrailingzerocenter
Summary
So this was all about Linear Gradients on iOS and how to use them in SwiftUI. Hope this post was useful to understand how linear gradients are formed and how to use them in iOS applications. Since this post became too long, I decided to break down the next couple of gradient topics - Radial Gradients and Angular Gradients in separate blog posts. I will soon be working on them and will be available in upcoming blog posts.

