iOS UI Testing with Fastlane snapshot tool

This week I played a little bit with UI testing on Xcode. This goes without saying that I had to go through some ordeal. (More about it in later paragraphs)
So the app I build for UI testing is simple. Description goes below.
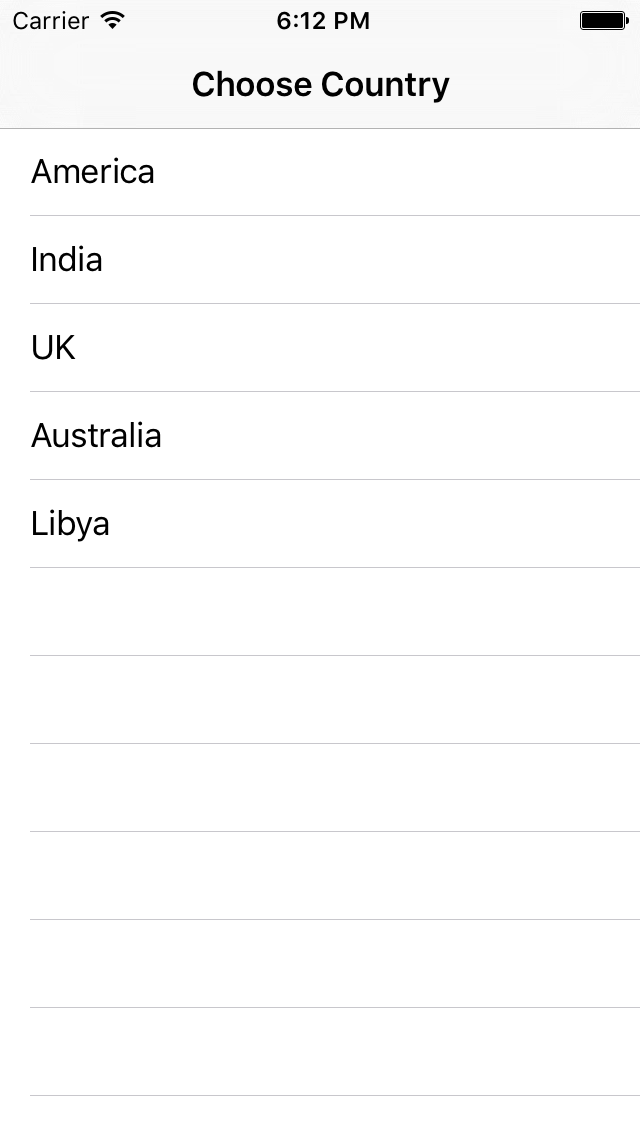
- You have list of countries to choose from the
tableView - Choose one option from the list and it takes you to the next screen
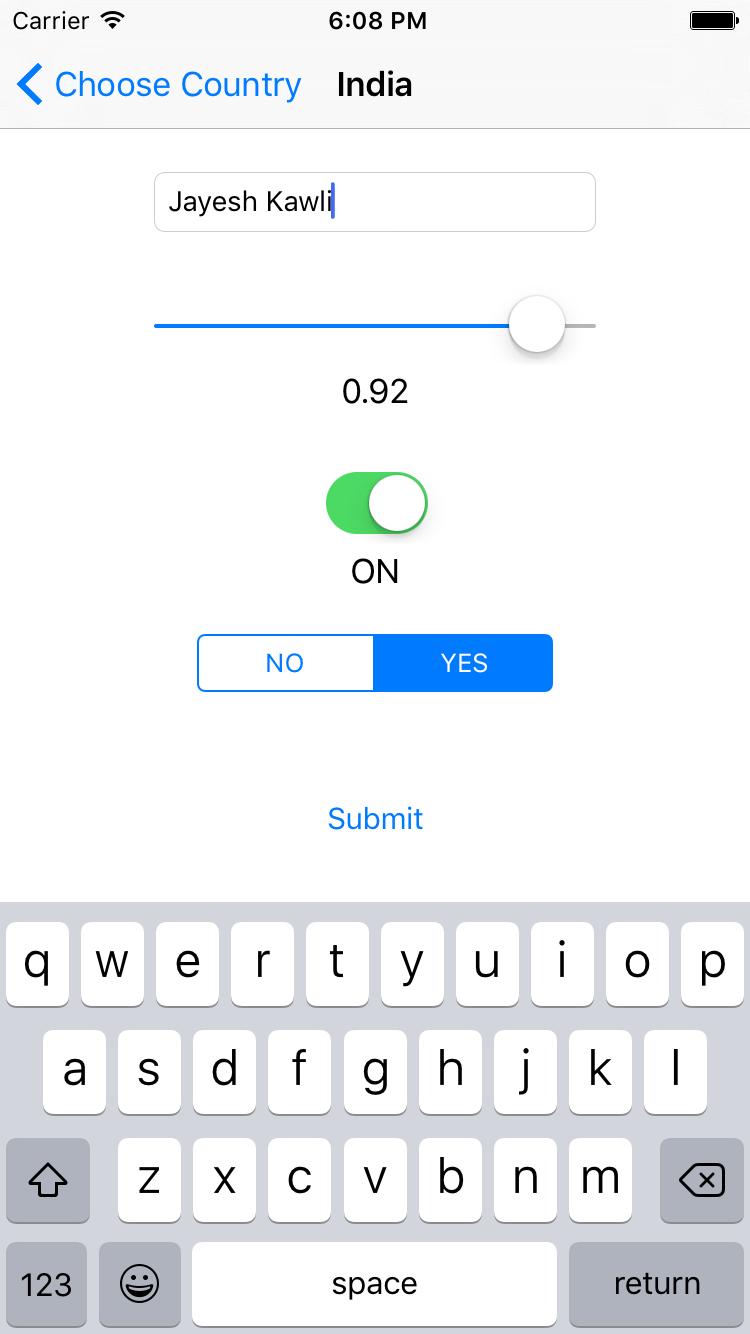
- Input required fields and press submit button
- A alert asks you for a confirmation if you want to submit the form
- Clicking yes will take you to the next screen which will show the dummy confirmation that form has been submitted
As mentioned on various blog posts and Apple developer forum, I first tried to record UI tests with automated tool and clicking through sequence of action buttons. However, I noticed that it is not flexible enough and you lose control over what you want to test
So finally I decided to zero in on writing UI tests manually. As hard it may sound, it was fun and you get to learn lot many things. In all I had 3 screens
- Select a country screen
- Input field
- Confirmation screen
Here is the sample of my UI test.
import XCTest

class JKUITestingDemoUITests: XCTestCase {

    let app = XCUIApplication()

    override func setUp() {
        super.setUp()
        continueAfterFailure = false
        setupSnapshot(app)
        app.launch()
    }

    func testFormSubmission() {
        XCTAssert(app.staticTexts["Choose Country"].exists)
        XCTAssert(app.navigationBars["Choose Country"].exists)
        XCTAssert(app.staticTexts["India"].exists)
        snapshot("01FirstScreen")
        app.tables.staticTexts["India"].tap()

        let inputNameTextField = app.textFields["myname"]
        XCTAssert(inputNameTextField.exists)
        inputNameTextField.tap()
        inputNameTextField.typeText("Jayesh Kawli")

        app.tables.containingType(.Table, identifier: <#t##string?#>)
        let slider = app.sliders["myslider"]
        slider.adjustToNormalizedSliderPosition(0.9)
        let switch2 = app.switches["myswitch"]
        switch2.tap()
        app.buttons["YES"].tap()
        snapshot("02SecondScreen")
        app.buttons["Submit"].tap()
        app.alerts["Submit Profile"].buttons["YES"].tap()

        snapshot("03ThirdScreen")
        app.navigationBars["Jayesh Kawli"].buttons["India"].tap()
        app.navigationBars["India"].buttons["Choose Country"].tap()
    }
}
This code is filled with additional code to facilitate snapshot tool
-
setupSnapshot(XCUIApplication())allows you to setupsnapshotwith an application running UI tests -
snapshot("03ThirdScreen")actually takes the snapshot of current screen UI tests are running on. For e.g. if you are on the second screen, you might want to take the snapshot even before user taps the submit button to transition to the next screen. -
Remember that the string you mention in the
snapshotcall is the unique name the screenshot will be generated with. For e.g. if you create a snapshot with namesnapshot("03ThirdScreen"), and devices it is running on is sayiPhone5andiPhone6it will create two screenshots for each combination with names viz.
- For iPhone5
- iPhone5-01FirstScreen
- iPhone5-02SecondScreen
- iPhone5-03ThirdScreen
- For iPhone6
- iPhone6-01FirstScreen
- iPhone6-02SecondScreen
- iPhone6-03ThirdScreen
Here are screenshots of the app generated by the Snapshot
On iPhone5


On iPhone6


You can find the GitHub repo on UI testing demo and snapshot tool usage address. Let me know if you have any questions, comments or queries about UI Testing on iOS.

